Trying new things, story two

photo 5 Last month I wrote about learning new things and an experience that maybe wasn't the most successful, but where I still learned some good lessons from doing it, including to laugh at myself a little more. This time I want to share another story about learning something new where it was very positive and though I still made some mistakes- I was still able to produce some respectable results and still not take myself too seriously.

In February I took a class at the Nevada Museum of Art in Linocut Printmaking. I've taken printmaking classes before but it's been years and I've never tried linocut before. I went in excited and ready to learn- ready to implement some things at home and experiment with this new-to-me art form.

The class ran once a week for four weeks which was great because it gave us a lot of time to try a few techniques and work with a nice press which is hard to come by!

photo 1

The teacher was Elizabeth Ferrill, she is in town for a limited time while she teaches at UNR and St. Mary's Art Center in addition to the NMA. I highly recommend taking a class with her, as she explains the process well and lets people really try different things and offers great feedback. She was very encouraging and made the class fun.

photo 2

The class was a mix of experienced printmakers and students totally new to printmaking which also made it great. Everyone had really interesting images and brought a variety of ideas which I think always gets me more engaged in the process of art making.

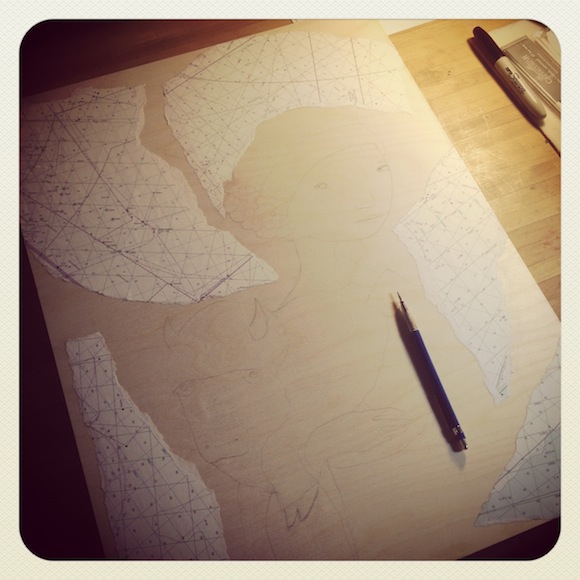
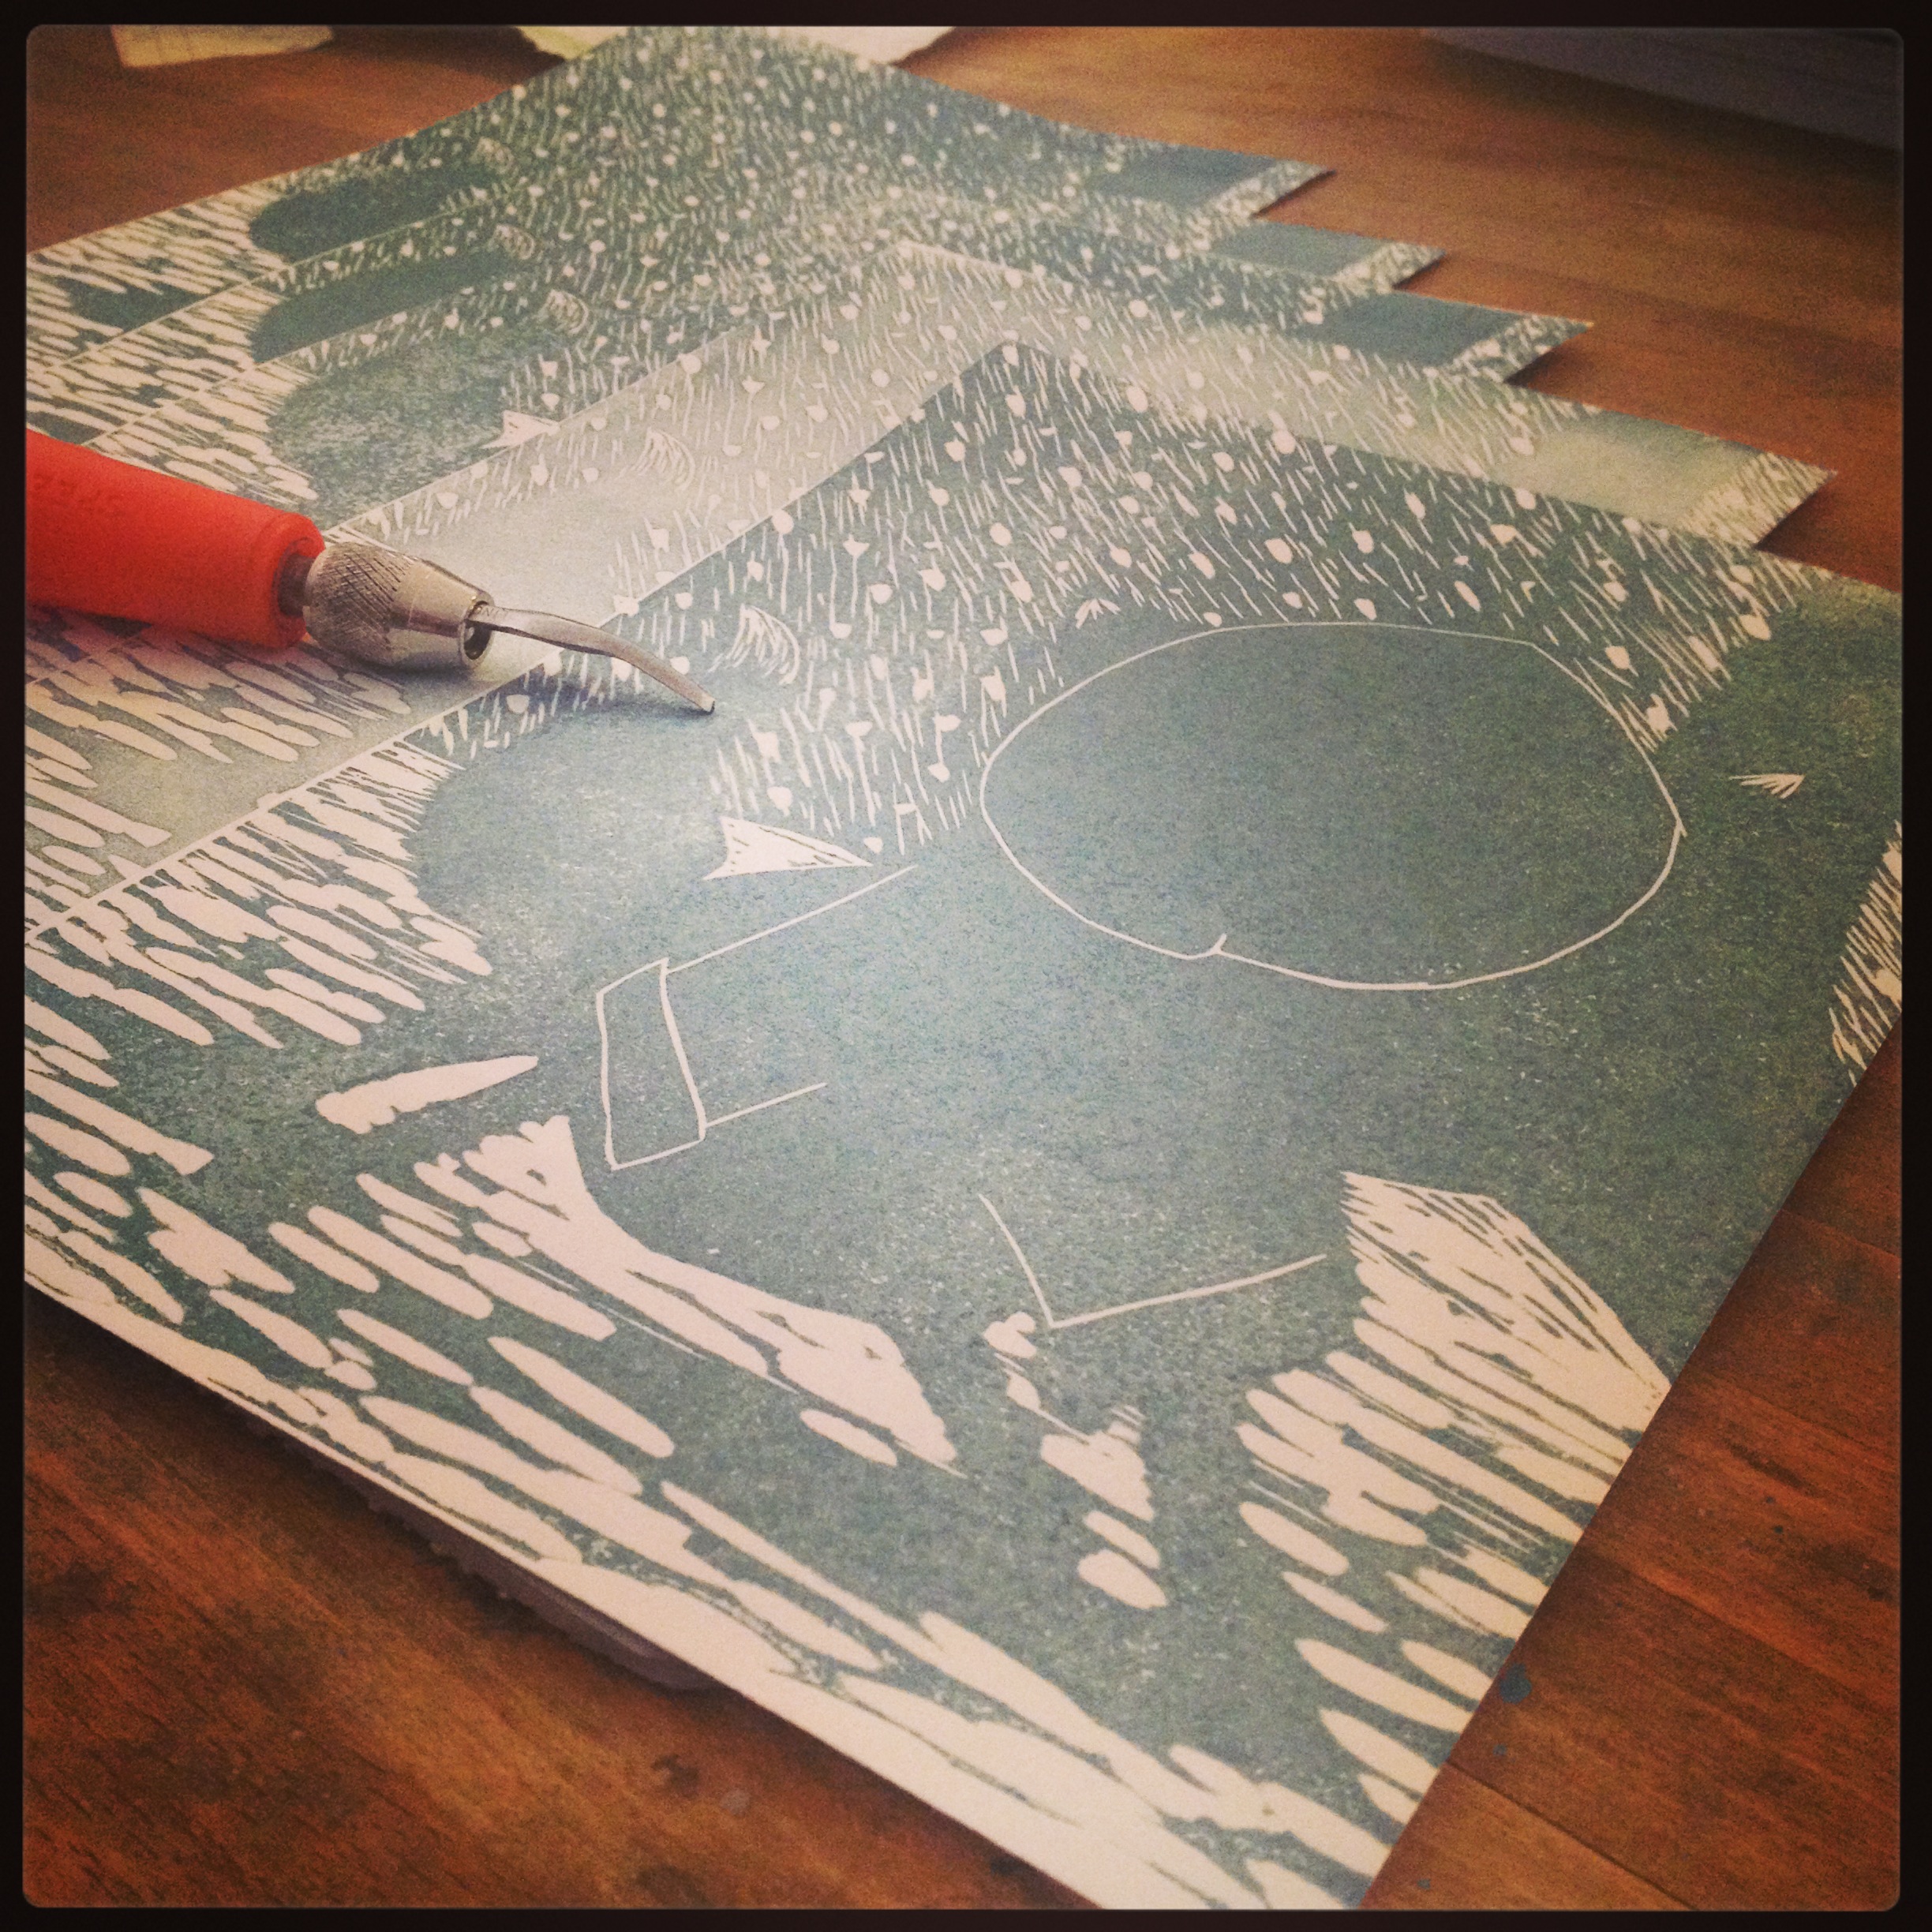
The class overall was a busy but relaxed atmosphere- everyone really got into the zone making prints and carving images into the plates. It was nice to take little breaks to walk around and look at what others were producing; I wish I had taken some photos because there were so many really nice prints. My favorite part of the process was carving- it's almost meditative as you carve lines and shapes into the material and build your image.

photo 4

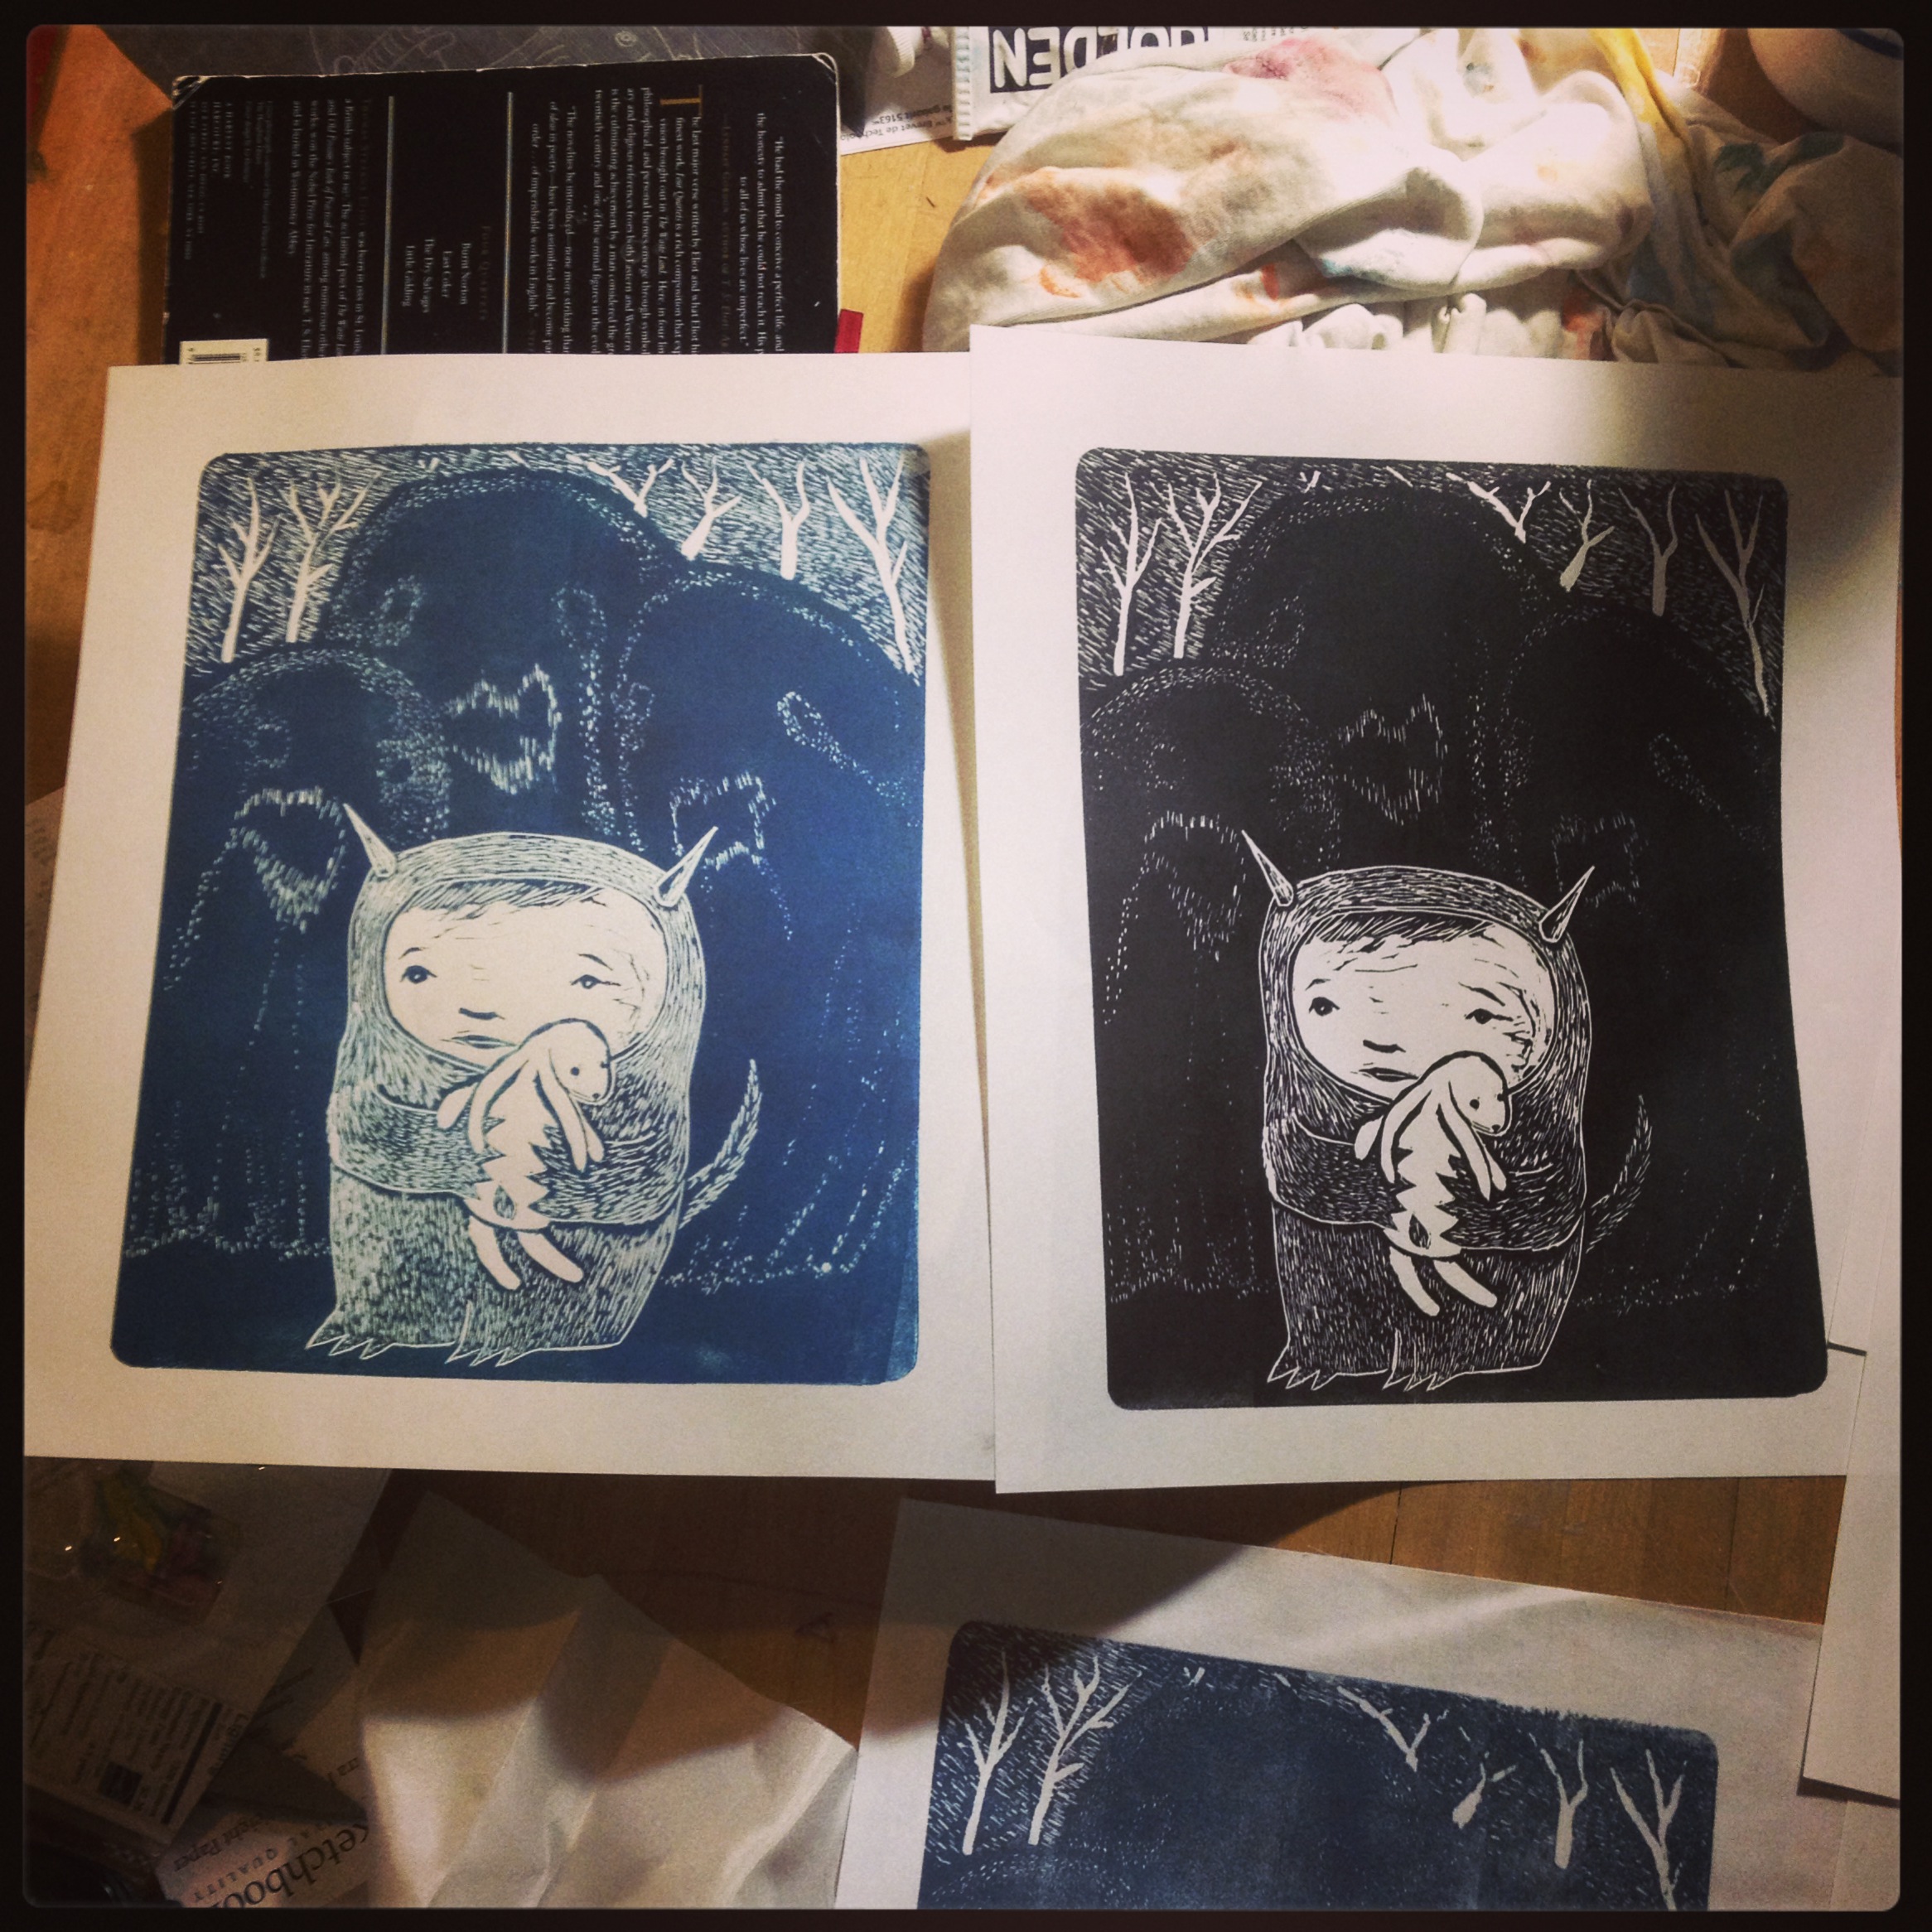
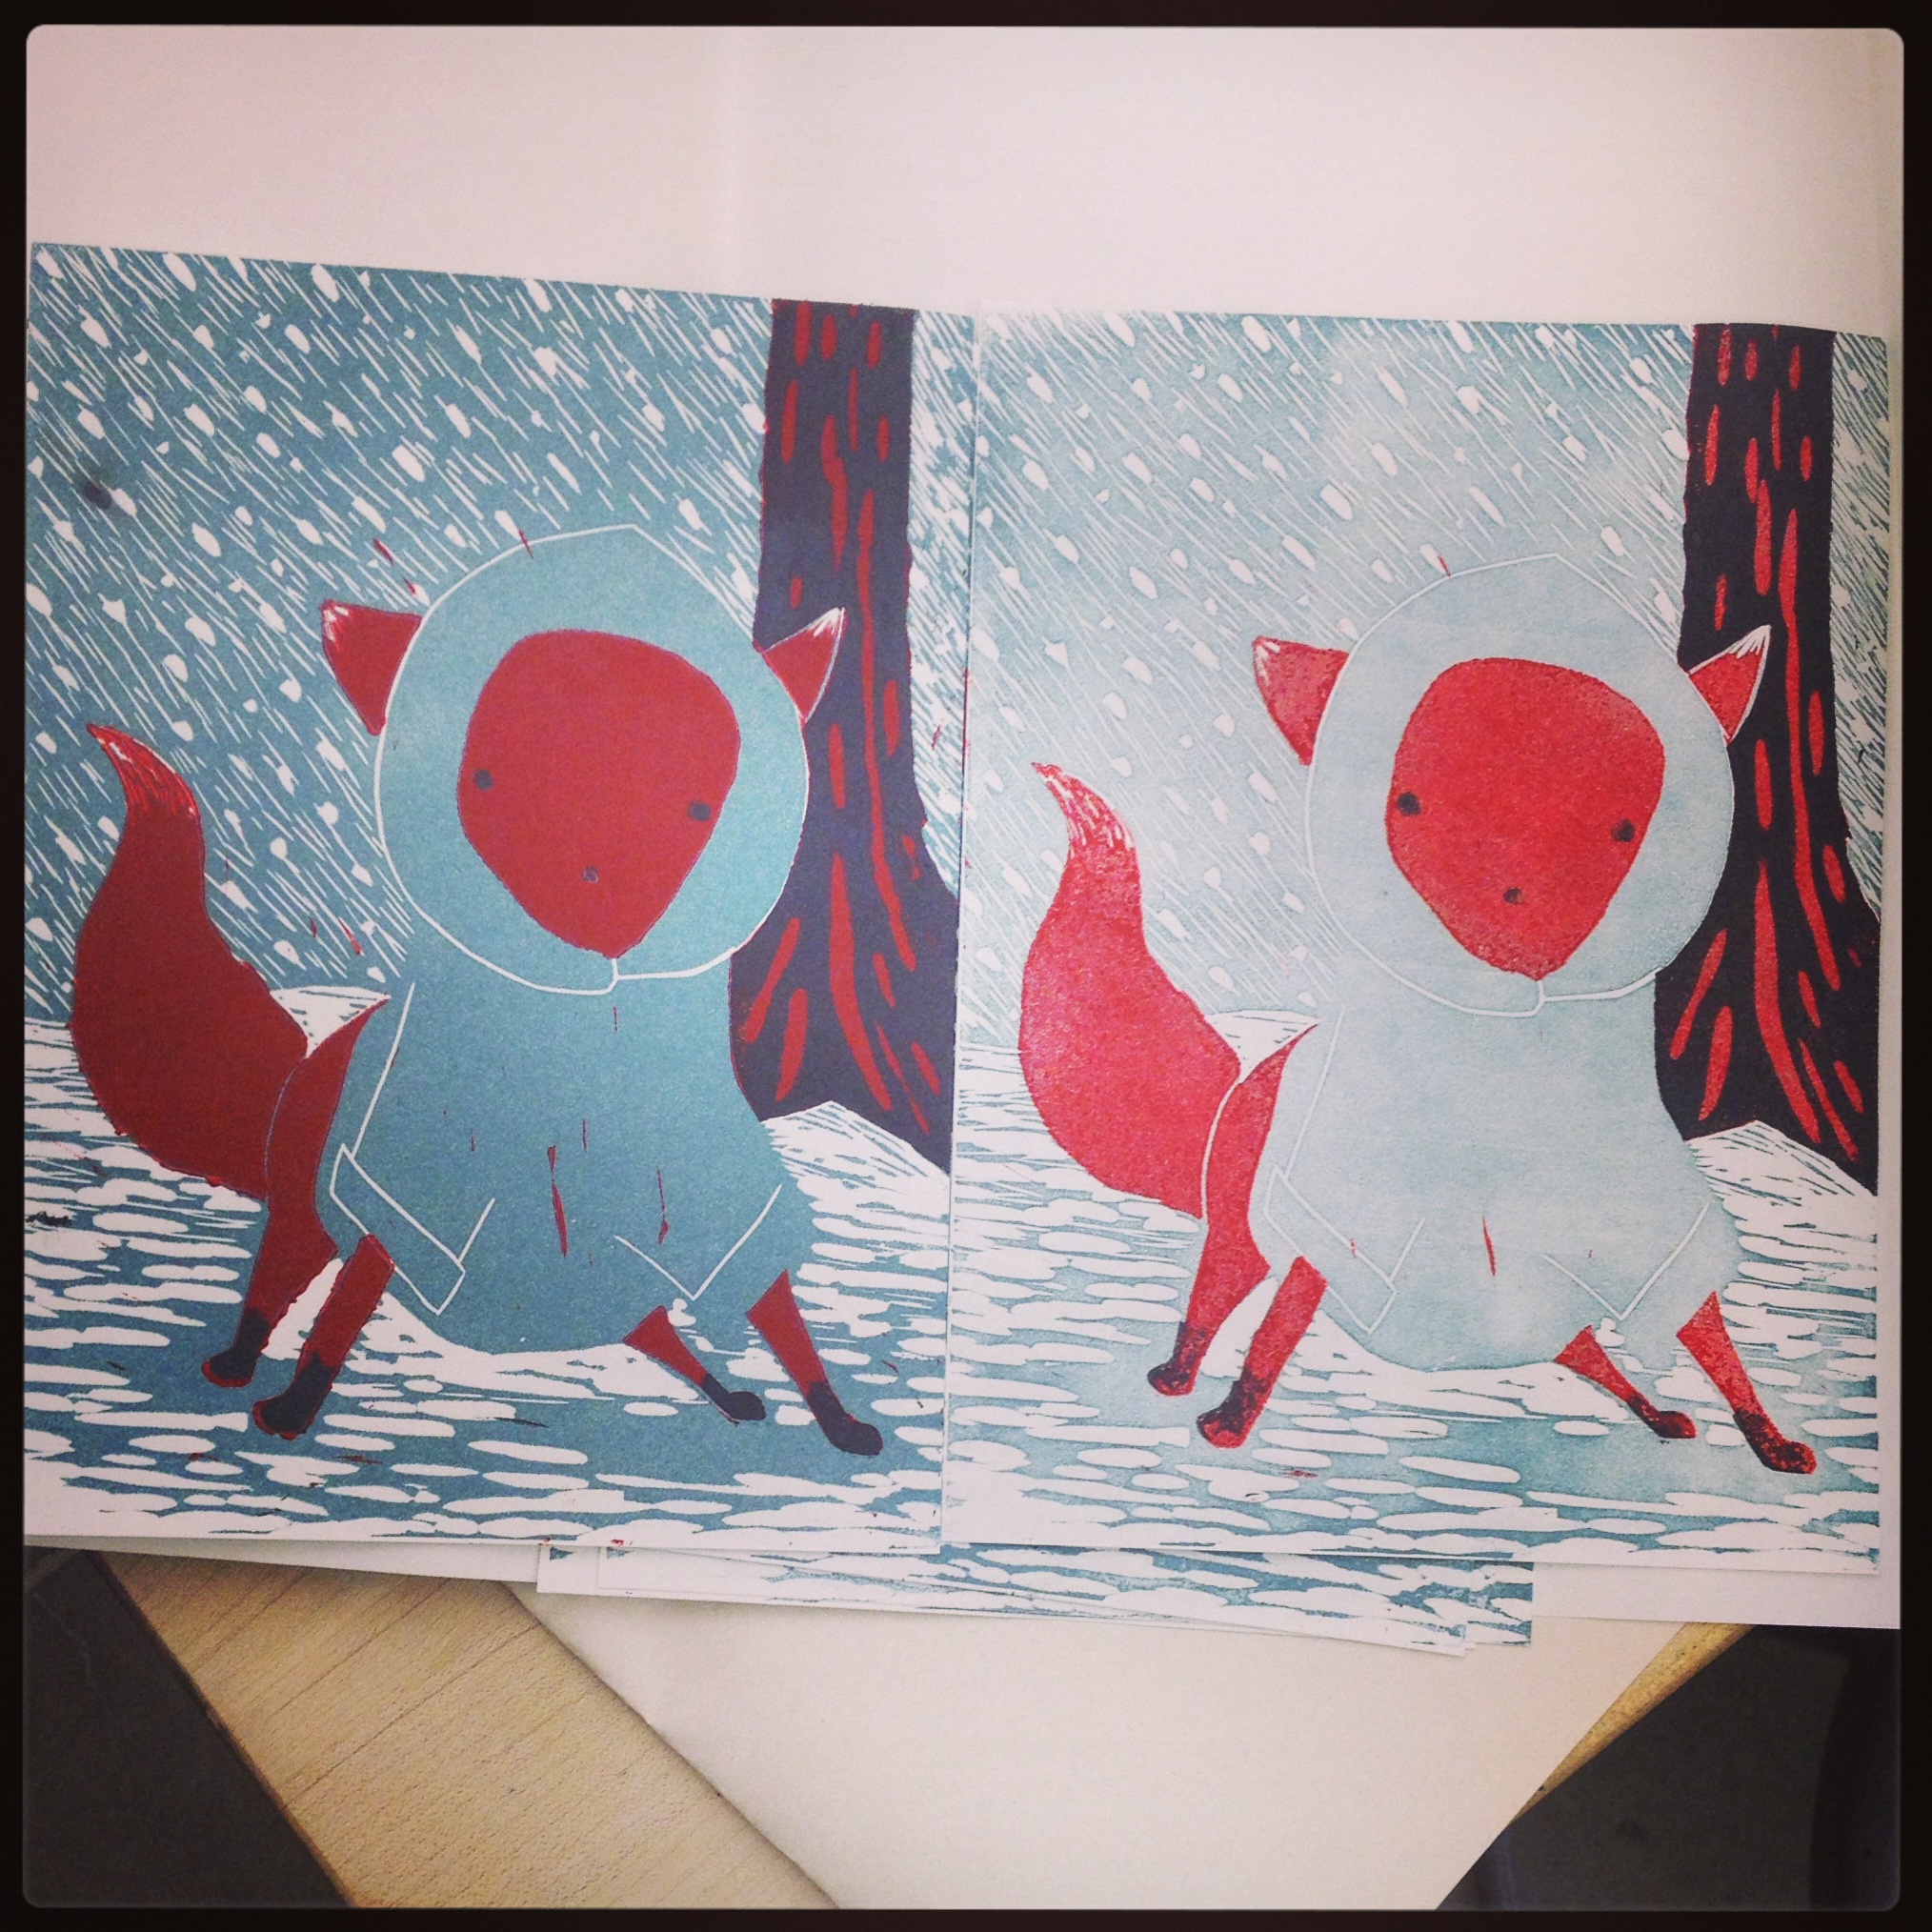
I played with different color inks and the way that I applied them to the plate to see what textures would come out when run through the press. I'm not going to lie, operating that press was super fun too and so satisfying to see that print come off with a new image. Even the same image will yield many different results depending on how you apply the ink and what kind of paper or fabric you print on.

photo 3

This class was just what I needed to get out of my comfort zone, learn some new things, and see things in new ways. This way of printmaking got me to really think and plan a bit ahead for what I was going to make, allow for some surprises, and embrace mistakes as positives. I also got lots of new ideas from the whole experience which is exactly what I love most about learning.

Trying new things, story one

One of the things about me is that I really enjoy learning new things. I think that because I tend to be someone who gets super focused on something- it's nice to pull back now and then and do something fresh just for fun. It helps me lighten up and reminds me why I'm an artist in the first place. Don't get me wrong- I struggle and sometimes get really frustrated when I'm trying a new thing but there is something really satisfying when or maybe if I start to get the hang of it. There was one time when I had taken a crochet class. I was totally excited because I had never crocheted before and I really wanted to make some cute stuffed animals. I had dreams of making a cute little lobster and I thought little bunnies would be fun. The bar was set high in my mind and I thought I was going to pump a whole bunch of new things out and have a blast! When I arrived, the class was pretty full but there were two instructors so I was pumped! People in the class were really friendly and everyone was excited. I think I might have been the only one without any experience in crocheting but I was ready to learn. Anyway- we each had our materials and the teachers gave a demo and then we all jumped right in. At first I thought- "yeah, I'm crocheting!! It's happening!" After a bit of time though- I realized something wasn't right. I ended up taking it all apart and starting again. I was more careful and asked for clarification to get started and thought- "okay- shaky start but we got this now." Well....that happened about 6 more times until the end of my 3 hour class. As everyone else was finishing their cute little animals, stuffing them full with batting and securing eyes and details on, here I was still just trying to get anything that resembled crochet. I was frustrated and it was the first time in a very long time that I had been the VERY WORST in the class. I was a little embarrassed and bummed but as I walked home from the class I started laughing to myself- how funny was that?! I mean- yes I walked away not learning how to really crochet and with nothing to show for the time and money spent on the class but I learned some things about myself for sure. When I got home my husband asked me how class was and I told him "it didn't work out so well." He felt bad and asked what happened. I told him and then said..."do you want to see what I made?" He said yes and this is what I showed him....BEHOLD the THUMB HAT!

thumb hat

And then we laughed for about 10 minutes straight. I haven't tried crochet again since but it doesn't mean I won't! I still carry those dreams of creating cute little forest animals and sea creatures. And what a fun story to tell...because sometimes what I need is to laugh at myself more and take myself seriously less.

buffalo + cetus: the first process post

One of my goals this year is to share my process even more and give people a better idea of my process and how I put a piece together. Anyone who makes anything is in a constant process of learning and it helps to share with each other how to do things. I did go to art school (yay MassArt!) which I think really helped me focus and immerse myself in making art for four years- I wish I could do that again! But you don't have to go to art school to make art or be an artist. Sometimes I miss the critiques and peer review that art school provides.

In general though, I have always learned a lot just by looking at art and I don't mean a quick glance in a book, online, or in a museum. Those are all great resources but by looking I mean studying a piece I admire- staring it down and taking in all the little nuances that make it what you see before you. I've also learned a lot by experimenting and watching others make things. In the spirit of all that, I give you my first full process post. This is a sort of step by step of my latest painting and how I got from point A to B. I hope you like it!

I usually paint on canvas or wood panels- in this case I used a wood panel. I start with prepping the surface- sanding, laying layers of gesso, and laying down layers of collage. Once the surface is completely dry I draw in the composition with a pencil.

do the work

The next part is to start the underpainting. I always do an underpainting - usually with a single color to start and then build layers from there. I use acrylic paint and the way I paint, the layers are really important to build up.step 2

As I work on the underpainting, I block in some color after a while- this is kind of the ugly stage and keeps getting more ugly until the layer build up enough to start looking good again.

step 3

Next, I start to focus on some of the details, I don't like to wait too long because I know these will need layers too and if I fear part of the piece- that's the part I want to tackle next. There is always at least one point in creating a new work where I sincerely think it may not work out and each time I push through and fight and discover that it does work out- and the world has not ended. I always learn something as I go through that as well.

step 4

At this point I keep adding layers and building the piece up. I go back and forth between detail work and the larger chunks. I try to move around the canvas- working all of it up together as much as I can so that there won't be any piece that stands out as not belonging. If I focus too much on one section and don't step back and work the whole piece- I could be off with colors, drawing, or any element that connects the elements together that make up the whole painting.

step 5

Here is a detail of the buffalo closer up. To get the hair to look soft, it was building many layers of various colors up and using a couple of different brushes (some larger) to apply the different sections of paint. For really fine details I use a very small brush- I think it's a 0/3. I also made sure to get the background right before delving into the buffalo- since he's in front and I wanted him to be soft- it was important to get that background looking the way I wanted and then parts of the buffalo- particularly the edges with paint over the background.

step 6

Here is the finished piece- it really is a matter of patient layering, letting layers dry, layering more, adding details, looking close and stepping back now and then. Often when I think I'm done or close to done, I'll stop for the night and sleep on it and then look at it the next day. Many times that break away from the painting (and I will do everything to avoid looking at it for several hours) you come back with a little bit of a refreshed eye and can catch things I might have missed or something that still needs some problem solving.

buffalo + cetus

I hope this gives some insight into how I paint. There are many ways to paint- especially with acrylics- the best advice I can give is to play, watch some tutorials or get some books on technique and you'll be surprised how much you learn. Even after many years- I feel like there is always more for me to learn and try.